
Samples are the difference between approving a rendering and approving a product. Every serious packaging project should pass through a physical sample stage – here is how to do it properly.
Know which sample you need
- Blank sample – an unprinted box, useful for checking structure, fit and material. Fast and inexpensive.
- Printed sample – produced on digital or proofing equipment to show color and finishing, before production plates are made.
- Pre-production sample – made on the actual production line with real materials and finishes. The final checkpoint before mass production.
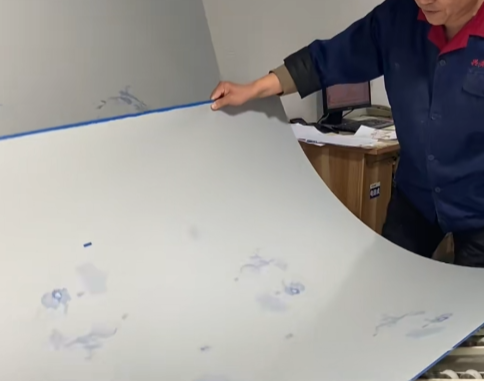
What to check when the sample arrives
- Fit: does the product slide in cleanly, or does it need an insert?
- Structure: do the flaps close crisply, does the magnetic closure hold, do corners stay square?
- Color: compare against your brand reference under daylight – screen colors never match print exactly.
- Finishing: feel the foil, the emboss depth, the lamination texture.
- Shipping survival: pack one sample the way it will ship and see how it arrives.
Give feedback like a professional
Photograph the sample, circle the issue on the photo and describe it in one sentence. Vague feedback (“make it more premium”) costs a round trip; specific feedback (“increase emboss depth on the logo, reduce foil margin to 2 mm”) gets fixed in one revision.
Timing expectations
Sample timelines vary with complexity, tooling availability and finishing processes. Blank samples are fastest; pre-production samples take longer because they must queue on production equipment. Confirm the sample schedule when you place the order so it fits your launch plan.
YMBOX provides blank, printed and pre-production samples on every project. Request a sample for your packaging idea and see the real thing before you commit.